Image to Normal Map Converter
Convert a photo, drawing or texture image into a normal map without installing software. Upload a JPG, PNG or WebP, tune the surface depth, preview it in 3D and download the result from the free browser tool.
Convert an Image to a Normal Map
Open the workspace, upload your source image and start with the default settings.
Open Free Converter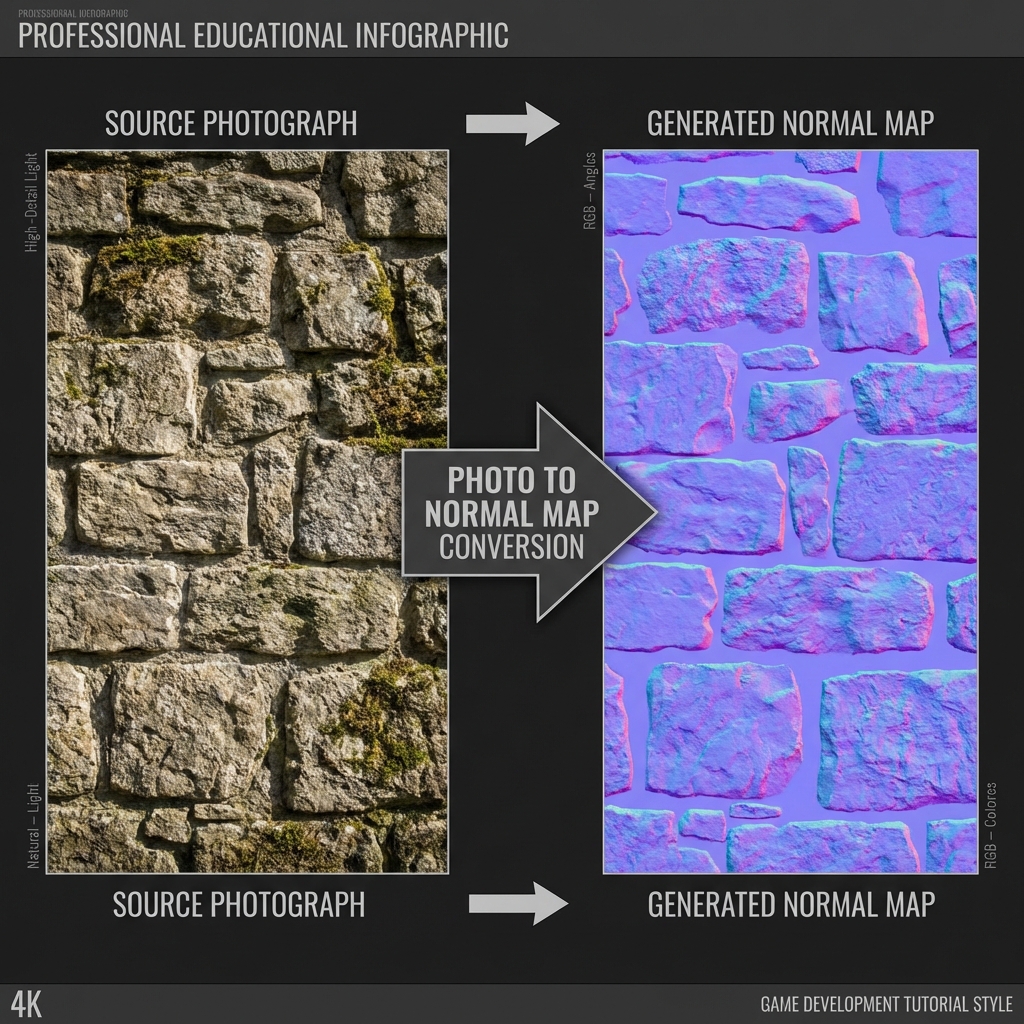
Why Convert Images to Normal Maps?
Often in game development or 3D art, you'll start with a "diffuse" or "albedo" texture - basically a regular photo of a surface like brick, wood, or stone. To make this surface look 3D and react to light, you need a normal map that matches it.
Converting your image to a normal map allows you to:
- Add depth to flat photos
- Create realistic materials from simple textures
- Avoid modeling high-poly geometry
- Save time in your workflow
Step 1: Prepare Your Image
Before uploading, make sure your image is ready:
- Resolution: Use high-resolution images (1024x1024 or higher) for best results.
- Seamless: If you plan to tile the texture, ensure your source image is seamless.
- Lighting: Try to use "flat" lit images without strong shadows, as shadows in the source photo can create incorrect bumps in the normal map.
Step 2: Upload to Generator
Go to our Normal Map Generator tool.
Click the upload area or simply drag and drop your image file. The tool supports JPG, PNG, WebP, TGA and other common formats. Processing happens locally in your browser, so the source image is not sent to a processing server.
Step 3: Adjust Settings
Once your image is loaded, you'll see a real-time 3D preview. You can adjust the following settings to perfect your normal map:
Recommended Settings
- Strength: Controls how deep the bumps look. Start around 0.5 and adjust. Too high can look noisy.
- Level: Controls the detail size. Lower levels pick up fine noise, higher levels capture large shapes.
- Blur/Smooth: Use this if your source image is grainy to create a smoother normal map.
Step 4: Export and Use
When you're happy with the preview, click the "Download" button to save your normal map.
You can then import this file into your game engine or 3D software:
Common Questions
Yes! The tool automatically converts color images to grayscale height data internally to calculate the normals. You don't need to convert to B&W first.
Use the browser tool when you want a quick preview and export. Photoshop can be useful when you need to edit the source texture first. See the Photoshop guide for that workflow.