Unreal Engine Normal Map Settings
Create a normal map, import it into Unreal Engine, and check the three settings that most often cause problems: green-channel direction, normal-map compression and sRGB. The exact right green direction depends on your source and pipeline, so verify it on a lit surface rather than relying on a filename.
Create a Normal Map for Unreal
Use the Unreal export preset to create a green-channel-flipped variant, then check it in your material.
Open Unreal Export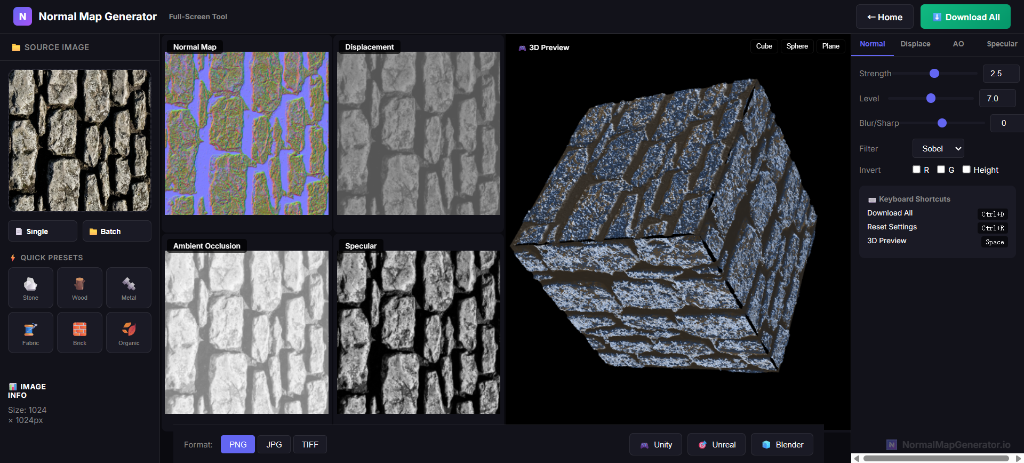
Unreal Engine Normal Map Import Settings
A normal map encodes surface direction in colour channels. A mismatch in the Y (green) channel makes lighting look inverted. Unreal provides a Flip Normal Map Green Channel import option, and this workspace's Unreal export preset creates a green-channel-flipped version.
Step-by-Step: Creating Normal Maps for Unreal Engine
Visit the free normal map generator. It runs in your browser and keeps the source image on your device.
Drag and drop your texture or height map. Unreal Engine works great with:
- Height maps from Substance or World Machine
- Sculpted textures from ZBrush
- Photogrammetry textures
- Hand-painted height maps
Select the workspace's Unreal export button to create a flipped-green-channel version. If your existing pipeline already delivers the correct direction, leave the green channel unchanged.
- Green channel: flip only when the lighting direction proves it is needed
- Strength: begin modestly and compare on a lit material
- Blur: smooth noisy input before export when necessary
Preview the result in the 3D viewer, then download a PNG for import into Unreal.
In Unreal Engine:
- Drag the file into Content Browser
- Double-click to open the texture
- Verify Compression Settings is set to a normal-map option
- Ensure sRGB is unchecked for the normal-map texture
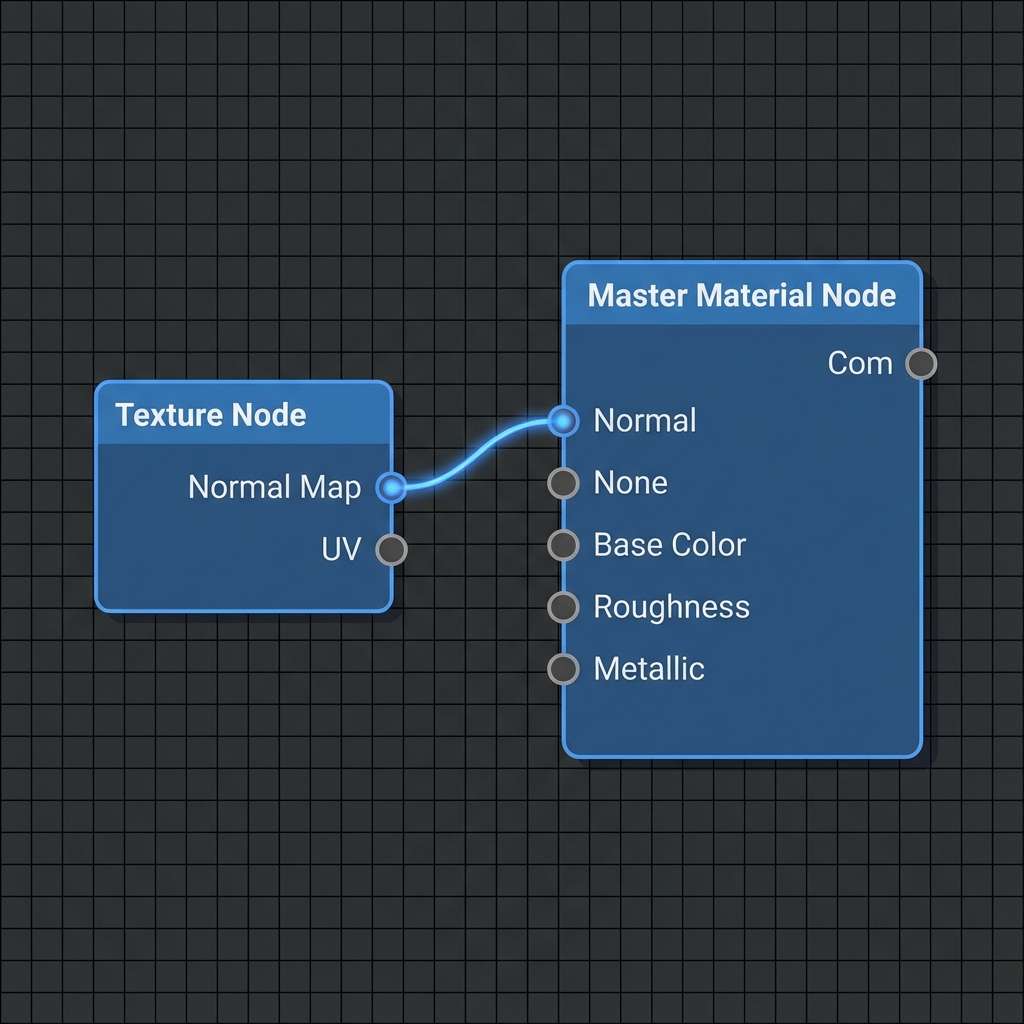
In the Material Editor:
- Create a
Texture Samplenode - Assign your normal map texture
- Connect the RGB output to the Normal input
- Optionally add a
FlattenNormalnode to control intensity
Unreal Engine Normal Map Best Practices
- Resolution: Use power-of-2 sizes (1024, 2048, 4096)
- Compression: use Unreal's normal-map compression setting for the imported asset
- sRGB: leave it disabled so direction values are not gamma-corrected
- Large textures: choose streaming or virtual-texture settings based on your project, not every material
Troubleshooting Common Issues
Lighting appears inverted or wrong
The green channel may be in the opposite direction for your pipeline. Flip it once in the workspace or Unreal's texture settings, then preview the material again.
Normal map looks washed out
Check that sRGB is disabled in texture settings. Normal maps should never use sRGB color space.
Details appear too strong or too weak
Use a FlattenNormal node in your material to adjust intensity, or regenerate with different
strength settings.
Create Unreal Engine Normal Maps Now
Generate DirectX-compatible normal maps for UE5 in seconds with our free tool.
🎮 Open Normal Map Generator