How to Convert Texture to Normal Map
Learn how to transform any texture, photo, or image into a professional normal map for 3D graphics. This guide covers the complete process of texture to normal map conversion using our free online tool.
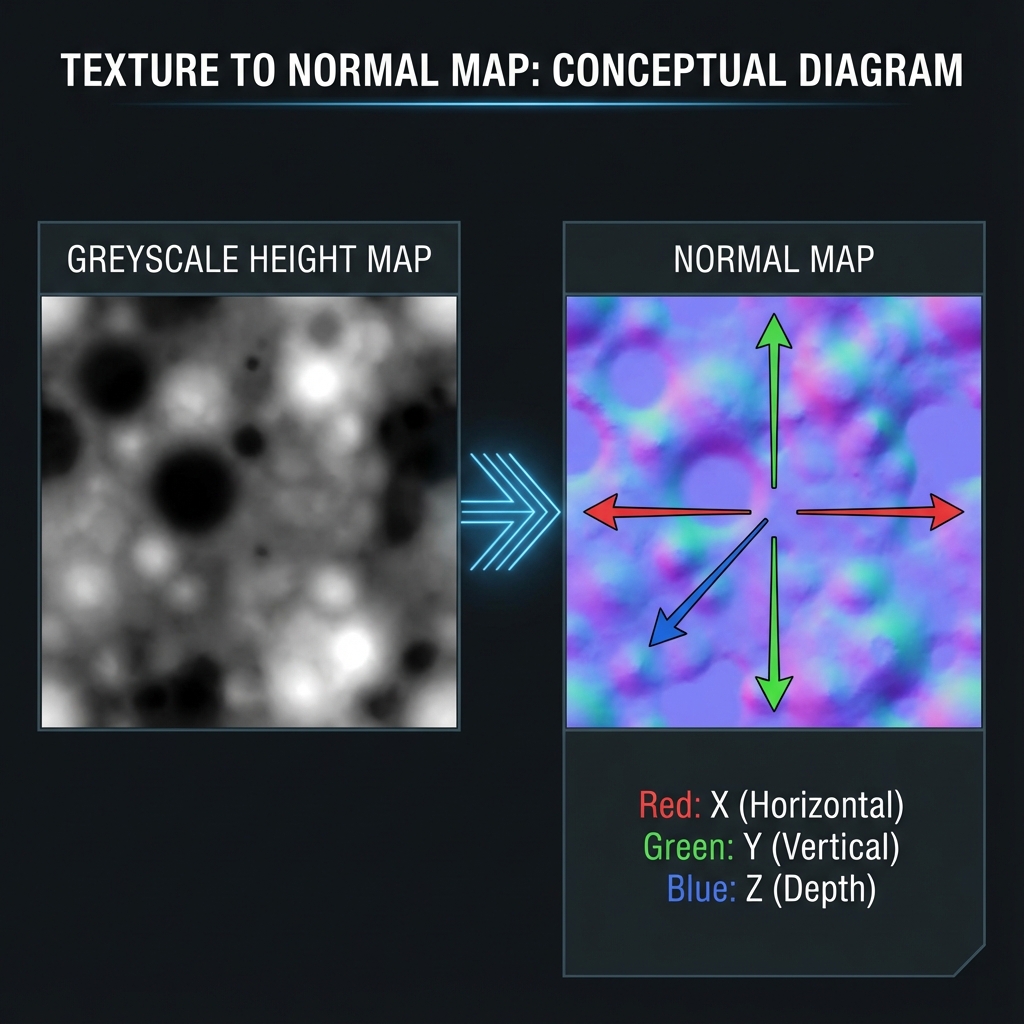
What is Texture to Normal Map Conversion?
Texture to normal map conversion is the process of analyzing an image's brightness and rendering engines how light should interact with a surface – creating the illusion of depth and detail.
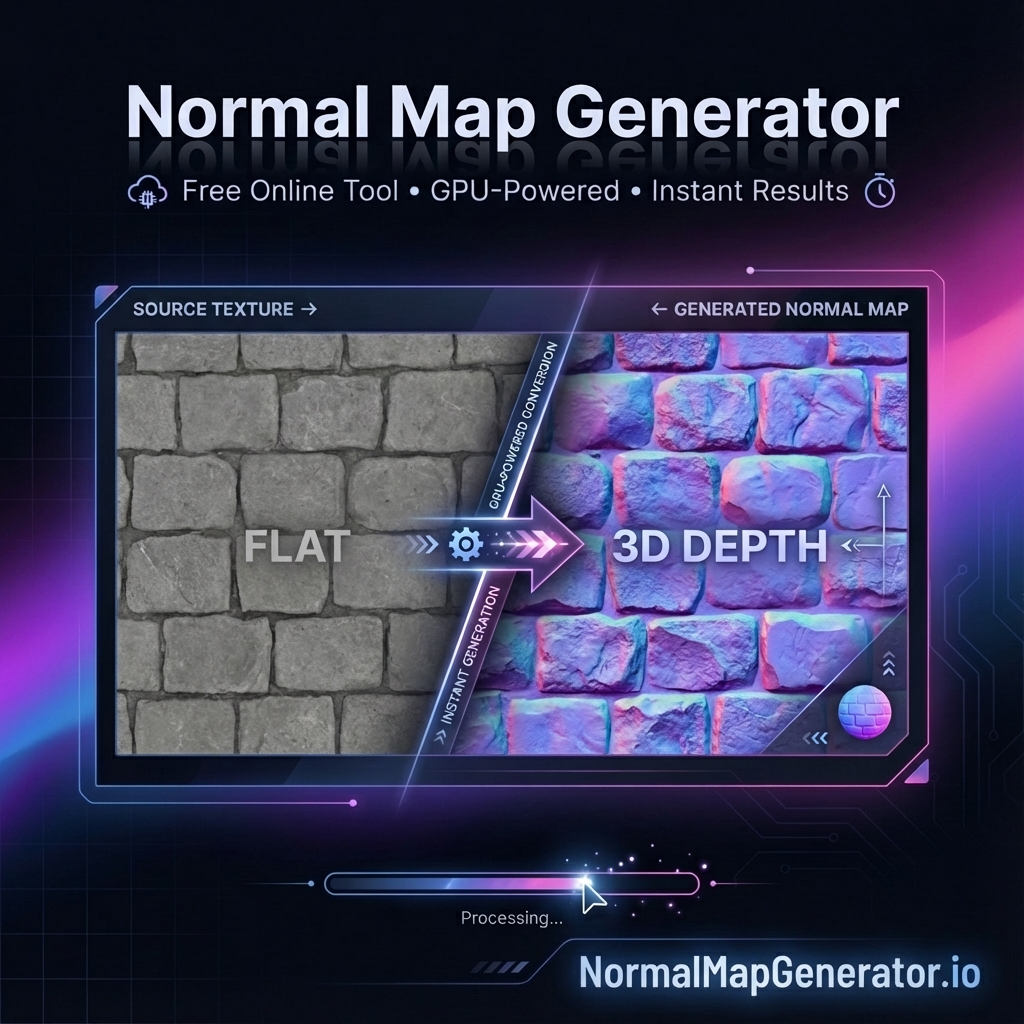
Original Texture
Color information, flat appearance when lit
Normal Map
Surface direction data, realistic lighting response
Step-by-Step: Convert Texture to Normal Map
Go to our free online normal map generator. No installation or signup required – it runs directly in your browser.
Drag and drop any image into the tool. Supported formats include:
- PNG, JPG, JPEG
- WebP, BMP, GIF
- TGA (Targa)
Fine-tune the conversion for best results:
- Strength: Controls the intensity of the normal map effect (1-10)
- Blur: Smooths the result for softer surfaces
- Invert: Flip the direction of bumps if needed
Use the built-in 3D preview to see exactly how your normal map will look on different surfaces. Rotate the view and adjust lighting to verify the result.
Export as PNG (most compatible) or TGA (for professional workflows). Your normal map is ready to use in Unity, Unreal Engine, Blender, or any 3D software.
Types of Textures You Can Convert
Height Maps (Best Results)
Grayscale images where brightness represents height. These produce the most accurate normal maps because the height information is explicit.
Color Textures
Regular diffuse/albedo textures. The tool analyzes brightness variations to estimate surface detail. Works well for textures with visible patterns like brick, stone, or fabric.
Photographs
Real-world photos of surfaces. Great for photogrammetry workflows or creating quick PBR materials from photo references.
Hand-Painted Textures
Stylized game art textures. Adjust strength settings lower (1-3) for subtler effects that complement hand-painted aesthetics.
Best Practices for Texture to Normal Map Conversion
- Use high resolution: Higher resolution textures produce more detailed normal maps
- Remove color cast: Desaturate or use grayscale textures for more predictable results
- Match resolutions: Keep normal map resolution same as your diffuse texture
- Test with lighting: Always preview with different lighting angles
- Iterate: Adjust strength and blur until you get the desired effect
Convert Your Texture Now
Transform any texture into a professional normal map in seconds – completely free.
🎨 Open Normal Map Generator